Before you turn on Facebook-to-Instagram posting
To automatically share Facebook posts to Instagram, you need your Facebook account or Page and Instagram account connected in Meta Accounts Center. For businesses, the cleanest setup is usually an Instagram professional account connected to the right Facebook Page.
Meta’s built-in cross-posting is useful when you want one Facebook post to appear on Instagram with minimal extra work. It is less useful when you want platform-specific captions, hashtags, image crops, approval steps, or scheduled content across several networks.
Method 1: Use Facebook’s built-in automatic sharing
This is the most direct answer if you are asking, “how do I automatically post to Instagram from Facebook?” The setting lives inside the Facebook composer and Accounts Center.
1. Confirm both accounts are connected
Open Facebook and make sure the Facebook profile or Page you post from is connected to the Instagram account you want to publish to. If you manage a business Page, double-check that the Instagram account is the business account tied to that Page, not a personal Instagram account.
If the accounts are not connected, add them through Accounts Center before setting up automatic sharing.
2. Start a new Facebook post
In Facebook, start a new post from the composer. On mobile, this usually begins from “What’s on your mind?” or the Page post composer.
Below your name or Page identity, look for the Instagram sharing option. If the post type is eligible, Facebook will show an Instagram control that lets you choose whether this post should also be shared to Instagram.
3. Turn on automatic sharing for future posts
Tap the Instagram option, then open Accounts Center from that sharing panel. Find the setting for sharing future Facebook posts to Instagram and toggle it on.
From this point forward, eligible Facebook posts should be shared to Instagram automatically. If a specific post cannot be shared, Facebook may show Instagram sharing as off for that post.
4. Check the post format before publishing
Before you publish, review whether the content actually makes sense on Instagram. A Facebook update that works as a link post or long announcement may look weak on Instagram, where the image or video carries most of the post.
Good candidates for auto-sharing include:
- One strong square, portrait, or landscape image
- A short video that also works in the Instagram feed
- A caption that does not rely on Facebook-only context
- Simple announcements, events, offers, or behind-the-scenes posts
Poor candidates include:
- Text-only updates
- Shared posts from another Page
- Link-heavy posts where the link preview is the main content
- Multi-image posts with inconsistent image sizes
- Anything that needs different hashtags or a different call to action on Instagram
5. Publish and verify the Instagram post
After posting on Facebook, open Instagram and confirm that the post appears where expected. Check the crop, caption, hashtags, tags, and any call to action.
If the Instagram version looks awkward, edit it directly on Instagram if possible, or turn off automatic sharing and use a more controlled workflow.
Method 2: Use LazyPosts for controlled autopilot posting
Native Meta sharing is fine when Facebook is your source of truth. LazyPosts is better when your real goal is: “I want my business to post consistently on Instagram and Facebook without manually building every post.”
Instead of making Facebook posts and hoping they translate well to Instagram, LazyPosts creates a queued set of posts from your brand profile, then publishes across connected networks including Instagram and Facebook.
1. Connect Instagram and Facebook
Open the connections page and connect your Instagram and Facebook accounts once. LazyPosts uses OAuth, so you are granting publishing access through the official network connection flow rather than sharing passwords.
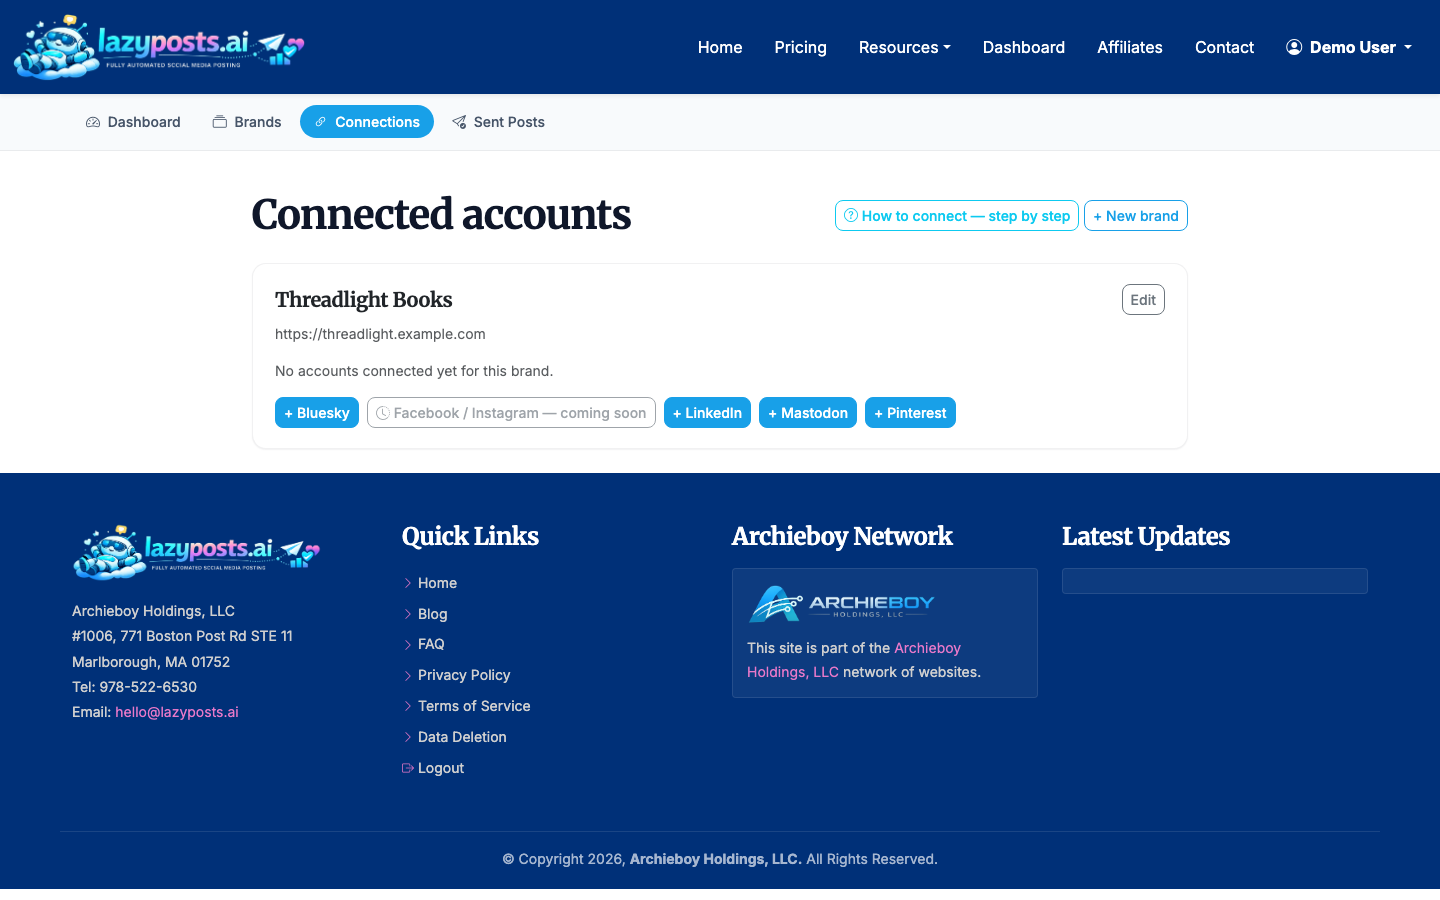
You can also connect other networks, including Bluesky, Mastodon, LinkedIn, and Pinterest, if you want one content workflow feeding several channels.
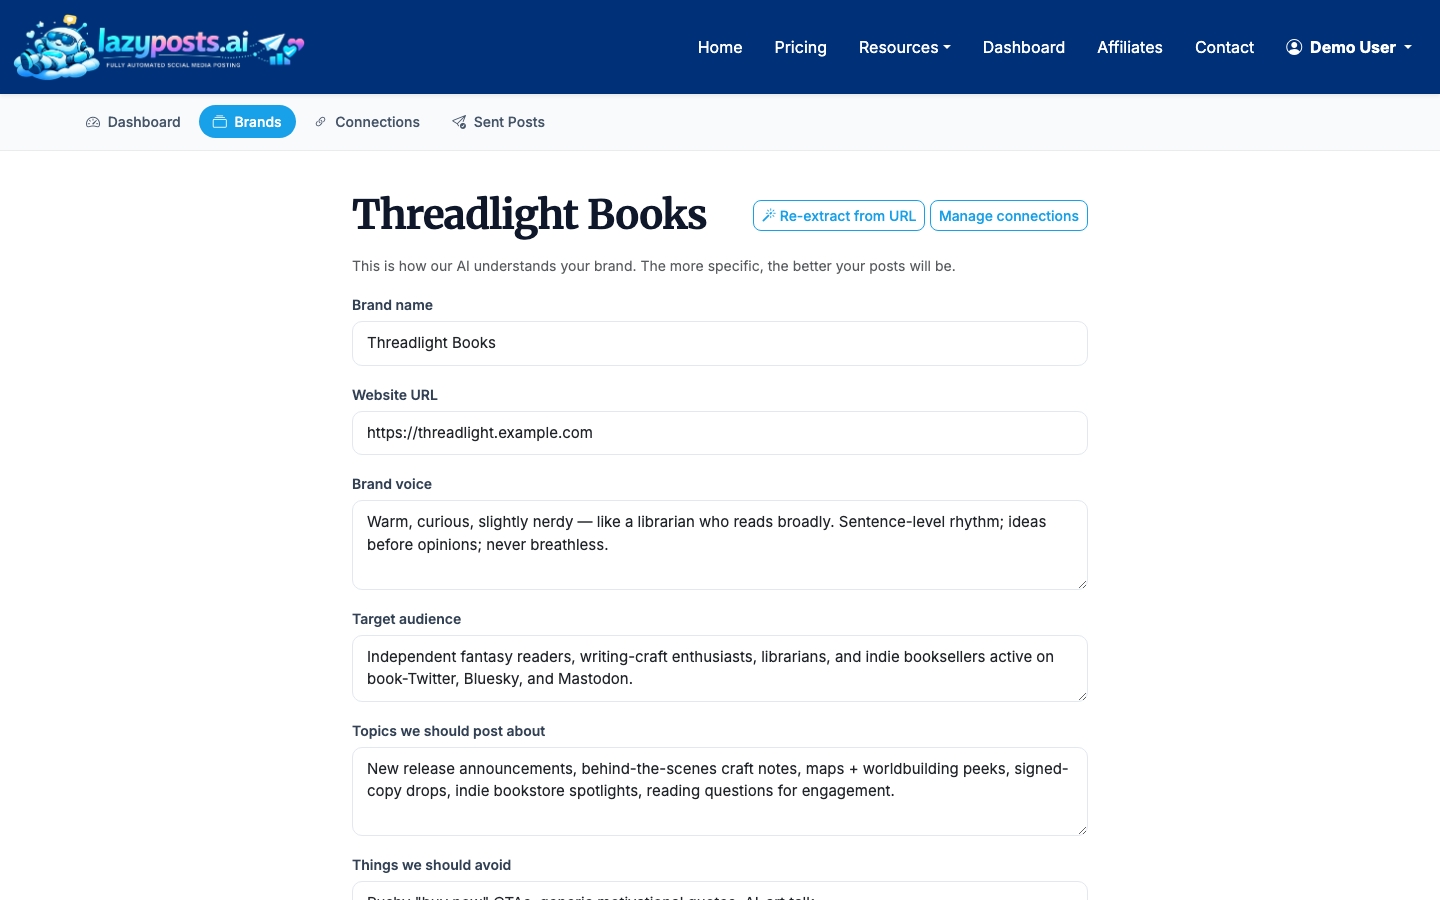
2. Set up your brand profile
Create or edit your brand profile with your voice, audience, topics, avoid-list, and website URL. This gives the AI enough context to draft posts that sound like your business instead of generic filler.
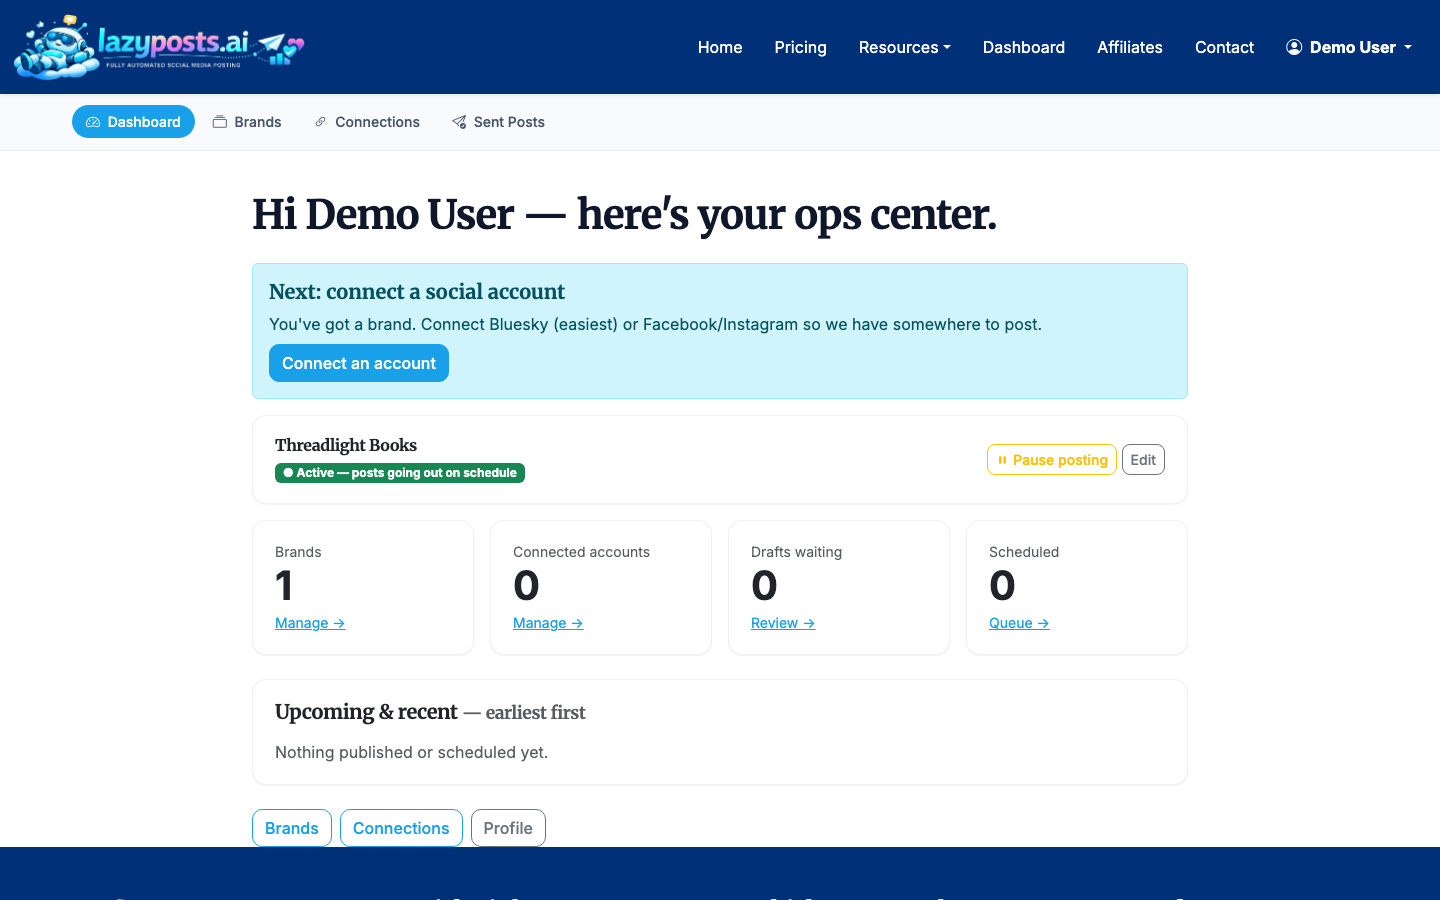
3. Review the generated draft queue
LazyPosts generates upcoming posts for your connected channels. Each draft can be edited, regenerated, approved, or published. This is useful if you want automatic posting but still want a human approval gate before anything goes live.
For example, you might approve a short Instagram caption with generated imagery, then publish a slightly more direct version to Facebook. That gives you automation without forcing every platform to carry the exact same post.
4. Let approved posts publish automatically
Once your queue is approved, LazyPosts handles publishing. You can pause or resume a brand when you are busy, running a campaign, or taking a break from social content.
If you mainly need scheduling, see How to Schedule Instagram Posts. If your content is video-first, How to Schedule Reels on Instagram is the better starting point.
5. Review what went out
Use the sent archive to confirm what published by brand and network. This is also helpful when you want to reuse a strong idea later without digging through each social account manually.

Native cross-posting vs automation software
Use Facebook’s built-in setting when you post manually in Facebook, your posts are usually simple image or video updates, and you are comfortable with the same caption appearing on Instagram.
Use LazyPosts or another social automation tool when you want scheduled consistency, generated drafts, approval controls, multi-network posting, or captions that can be adjusted per platform.
The tradeoff is control. Native cross-posting is fast and free, but it is blunt. A dedicated workflow takes more setup, but it reduces the risk of awkward Instagram posts and helps you keep publishing even when you are not thinking about social media.