Before You Start
To automatically post Instagram to Facebook, you need the right account connection first. For a Facebook Page, your Instagram account should usually be a professional account, and you need access to the Page you want to post to.
You will also need to decide what kind of automation you want:
- Native Instagram sharing: best when the same post should appear on Facebook immediately after Instagram.
- Meta Business Suite: useful if you already plan posts manually inside Meta’s tools.
- LazyPosts: best when you want AI-generated drafts, optional approval, and publishing across Instagram, Facebook, LinkedIn, Mastodon, Bluesky, Pinterest, and more from one queue.
Option 1: Use Instagram’s Built-In Facebook Sharing
1. Connect Instagram and Facebook in Accounts Center
Open Instagram on your phone, go to your profile, open the menu, and find Accounts Center. Add or confirm the Facebook account connected to the Facebook profile or Page you want to share to.
If you are posting to a Facebook Page, confirm that the correct Page is connected to your Instagram professional account. If you manage several Pages, this is where mistakes usually happen.
2. Create Your Instagram Post
Start a new Instagram post as usual. Add the photo, carousel, Reel, or caption you want to publish.
Before you tap Share, look for the option that says something like Also share on or Share to Facebook. The exact wording can vary by app version, but the setting appears on the final post screen before publishing.
3. Turn On Facebook Sharing
Toggle sharing on for the Facebook profile or Page you want. If you see multiple destinations, choose carefully.
For one-time sharing, this publishes that Instagram post to Facebook. If Instagram offers a setting to share future posts automatically, turn it on only if you are comfortable sending most Instagram content to Facebook without editing.
4. Publish and Check the Facebook Post
Tap Share in Instagram, then open Facebook and confirm the post landed where expected. Check three things: the destination, the image crop, and the caption formatting.
This method is the fastest way to learn how to automatically post Instagram posts to Facebook, but it is intentionally simple. It does not give you a separate approval queue, brand voice controls, or per-network rewriting.
Option 2: Use LazyPosts for Managed Instagram and Facebook Automation
If your real goal is not just “copy Instagram to Facebook” but “stop thinking about social media,” use LazyPosts as the publishing layer. Instead of manually creating an Instagram post and pushing it to Facebook, you connect your accounts once, define your brand, and let the system prepare posts for the networks you choose.
This is a better fit when you want:
- Posts drafted from your business, audience, and topics
- Optional approval before anything goes live
- Facebook and Instagram publishing from one queue
- Different posts or captions across different networks
- A pause button when you are too busy, out of season, or changing strategy
1. Connect Instagram and Facebook
In LazyPosts, open Connections and connect your Meta account. This is where Instagram and Facebook permissions are handled.
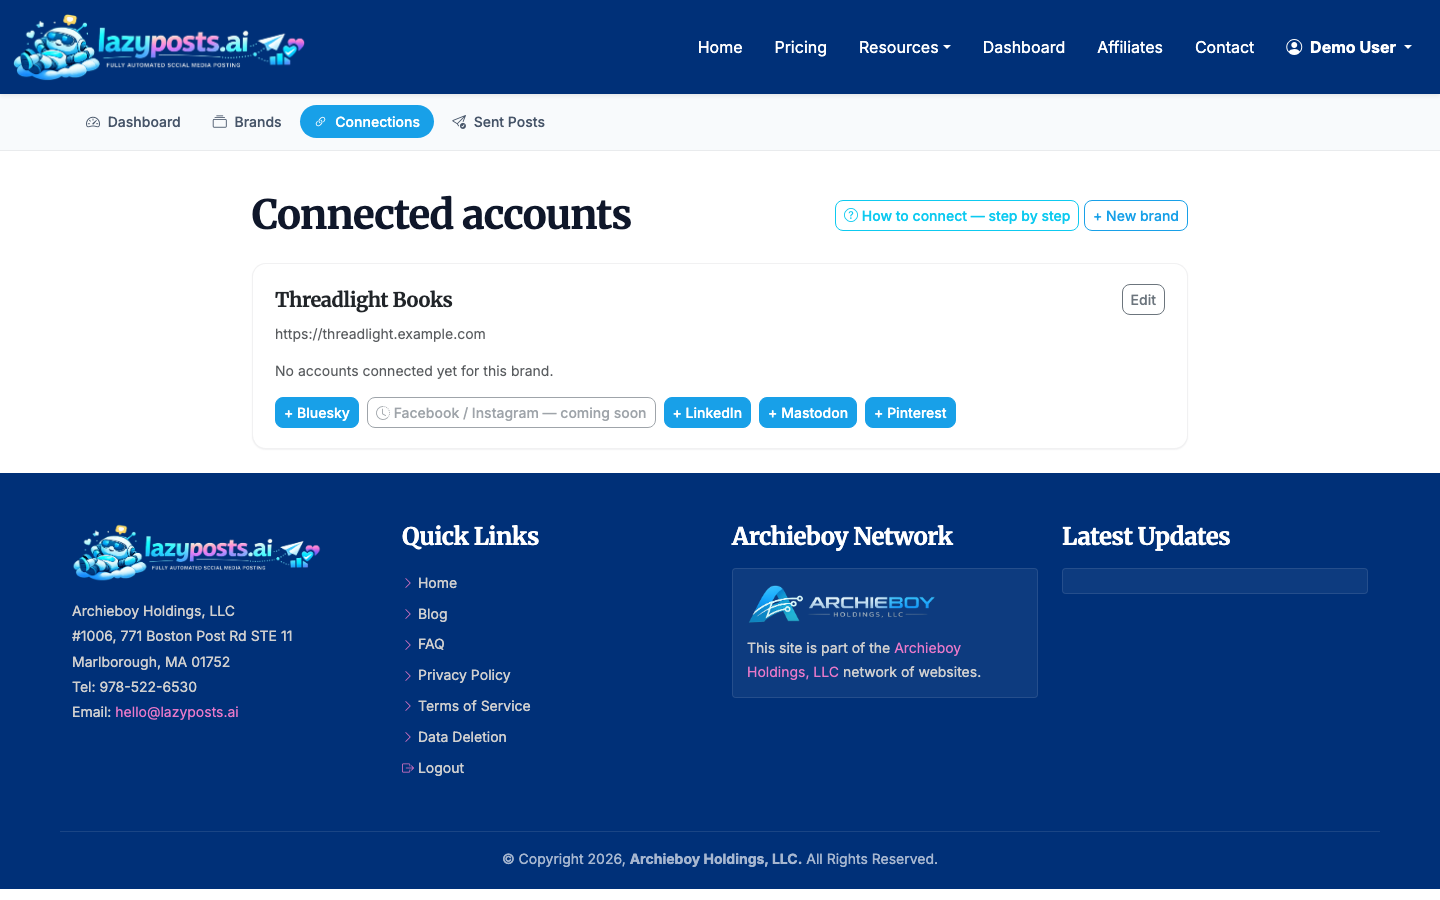
Make sure both Instagram and Facebook are connected before relying on automation. If you manage multiple brands or Pages, confirm that the right assets are selected for the right brand.
2. Set Up Your Brand Profile
Open your brand profile and fill in the voice, audience, topics, avoid-list, and website URL. LazyPosts can use this information to draft posts that sound closer to your business instead of generic social copy.
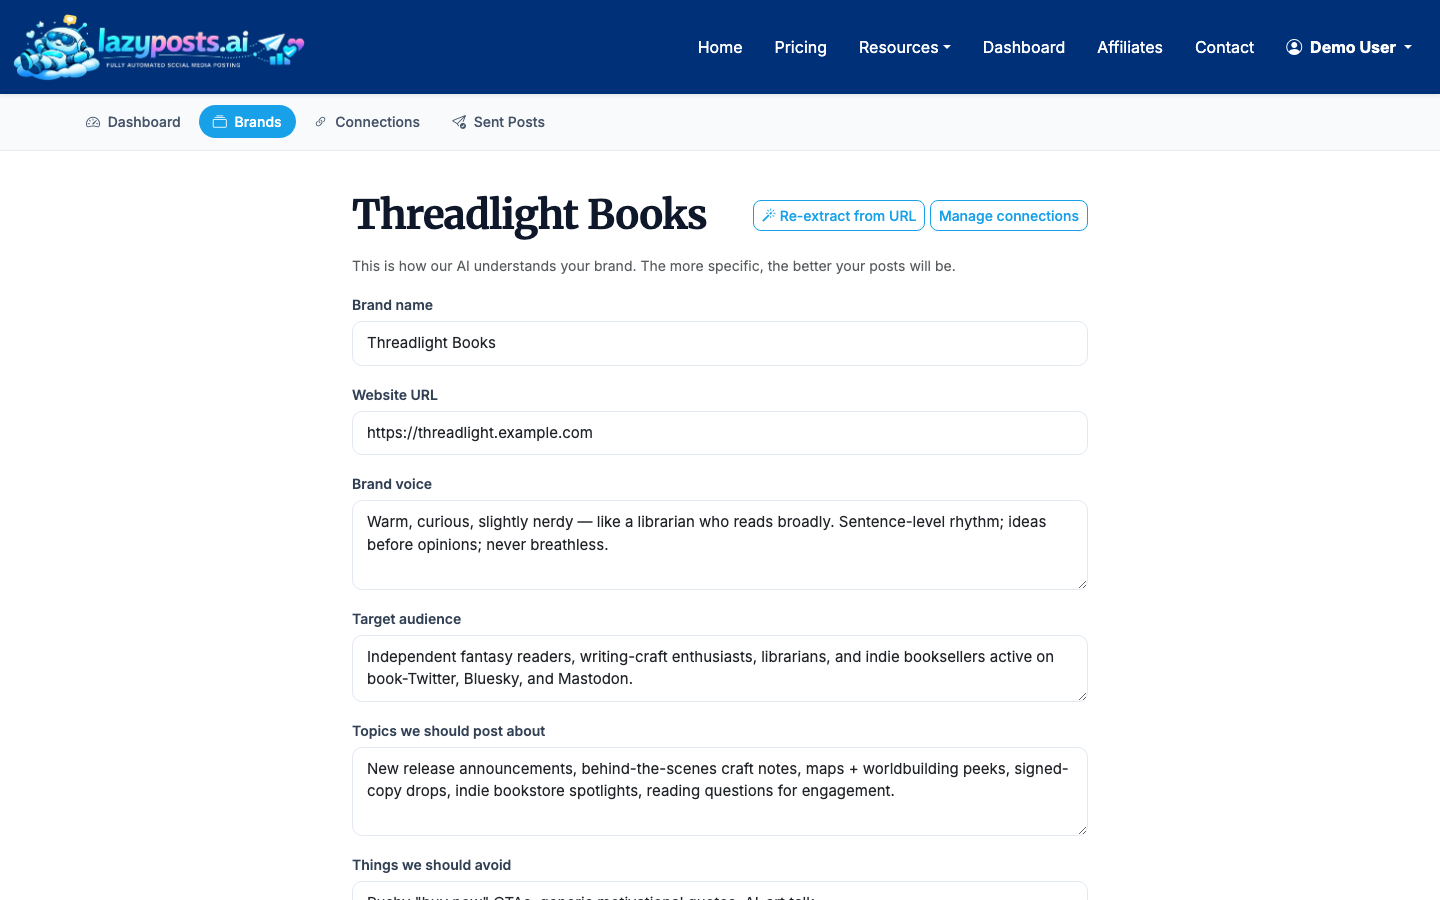
Be specific. “Friendly accountant for freelancers, plain English, no scare tactics” is more useful than “professional and helpful.” Add topics you want repeated over time, such as pricing reminders, founder stories, customer objections, seasonal offers, or educational tips.
3. Review the Draft Queue
Go to Drafts to review upcoming posts. Each draft can be edited, approved, regenerated, or published depending on your workflow.
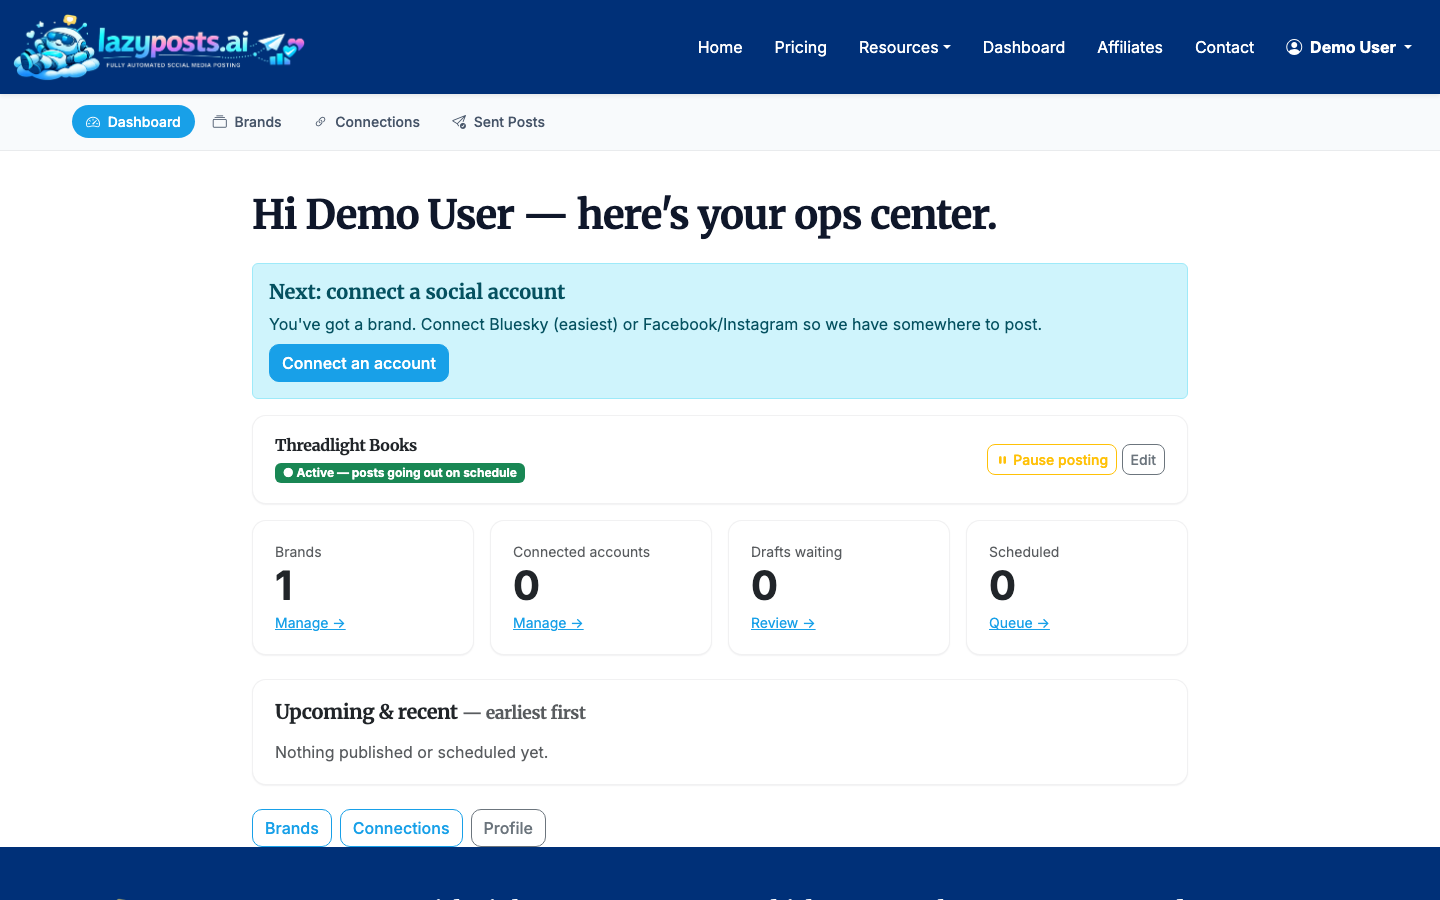
This is the key difference from basic Instagram-to-Facebook sharing: you are not forced to publish the exact same caption everywhere. You can keep the same idea but adjust the wording, image, or hashtags before it goes live.
4. Approve, Edit, or Regenerate Posts
For each draft, decide whether it is ready. Approve it if it is good, edit it if it needs small changes, or regenerate it if the angle is wrong.
A practical approval rule: if a post mentions a claim, price, deadline, legal topic, medical topic, or client result, review it manually. For evergreen reminders and light educational posts, you may be comfortable with a looser approval process.
5. Check the Sent Archive
After posts publish, use the sent archive to confirm what went out by brand and network.

This is helpful when you are posting across Instagram, Facebook, and other networks at the same time. It gives you a cleaner record than trying to remember which app you posted from.
Which Method Should You Use?
Use Instagram’s native sharing if you want the simplest possible way to auto share Instagram on Facebook and you are comfortable with the same post appearing in both places.
Use LazyPosts if you want Facebook and Instagram handled as part of a broader posting system. It is especially useful for solo founders, consultants, local businesses, and small teams that need consistency but do not want to spend 3 to 5 hours a week writing and scheduling social content.
If you mostly need Instagram planning, read How to Schedule Instagram Posts. If Reels are your main format, see How to Schedule Reels on Instagram. For the reverse workflow, use How to Automatically Post from Facebook to Instagram.
Common Issues
The Facebook Page Does Not Show Up
This usually means the Instagram account is not connected to the Page, your Facebook account does not have the required Page access, or you are logged into the wrong Meta account. Check the Page connection first, then reconnect permissions if needed.
Instagram Shares to a Personal Profile Instead of a Page
Go back to Accounts Center and your Instagram professional account settings. Confirm the connected Facebook destination. Businesses often have an old personal profile connected from years ago, while the Page they actually use is separate.
The Post Looks Wrong on Facebook
Instagram-first captions often overuse hashtags, line breaks, and platform-specific language. If you care about Facebook engagement, edit the caption before publishing or use a tool that lets you manage each network’s version separately.
Automatic Sharing Stops Working
Permissions can expire, passwords can change, and Page roles can be updated. If posts stop crossing over, reconnect the accounts and publish a test post before assuming the automation is fixed.