Before you schedule a Reel
Instagram scheduling works best when the account is set up correctly first. In most cases, you need a professional Instagram account, connected permissions, and media that meets Instagram's requirements.
If you only publish an occasional Reel, Instagram's built-in scheduler may be enough. If you are trying to maintain a steady presence across Instagram, Facebook, LinkedIn, Mastodon, Bluesky, and other channels, a tool like LazyPosts can reduce the planning work by generating and queuing posts from your brand voice and topics.
Option 1: Schedule Reels inside Instagram
Instagram's native scheduler is the most direct answer to “how do you schedule reels on instagram” when the content is already finished and you want it to publish as a Reel.
- Open Instagram and start a new Reel.
Choose your video, add your caption, cover, location, tags, and any final edits. Treat this like a normal Reel creation flow until you reach the final sharing screen.
- Open advanced settings.
Look for the scheduling option near the bottom of the publish settings. Instagram changes labels occasionally, but it is usually under advanced settings or scheduling controls.
- Choose the publish date and time.
Pick a time when your audience is likely to be online. For many small businesses, a reasonable starting test is weekday mornings from 8-10 a.m. or early evenings from 5-7 p.m., then adjust based on performance.
- Confirm the scheduled Reel.
Review the caption, cover, and scheduled time before saving. Once scheduled, the Reel should appear in Instagram's scheduled content area.
Option 2: Schedule Instagram content with Meta tools
If your Instagram account is connected to a Facebook Page, Meta Business Suite can also schedule Instagram content. This is useful when your workflow already runs through Meta, or when you want to coordinate Instagram and Facebook posts together.
The tradeoff is complexity. Meta's tools are powerful, but small teams often find them heavier than they need. If your goal is “get a few solid posts out every week without thinking about it,” a simpler automation workflow may be easier to maintain.
For a deeper cross-posting workflow, see How to Automatically Post from Facebook to Instagram and How to Automatically Post from Instagram to Facebook.
Option 3: Use LazyPosts for a lighter Instagram workflow
LazyPosts is built for people who do not want social media to become another daily operating task. You connect Instagram once, define your brand, and let the system draft a queue of posts that you can approve, edit, regenerate, or pause.
This is best when you want consistent Instagram publishing and do not want to keep rebuilding the calendar yourself. For Reel-specific video editing and native Reel effects, you may still finish or schedule the final Reel in Instagram. For broader Instagram posting and caption workflows, LazyPosts keeps the planning and approval process moving.
1. Connect your Instagram account
Open your connections page and add Instagram through the Meta connection flow. LazyPosts uses OAuth, so you are not handing over your password.
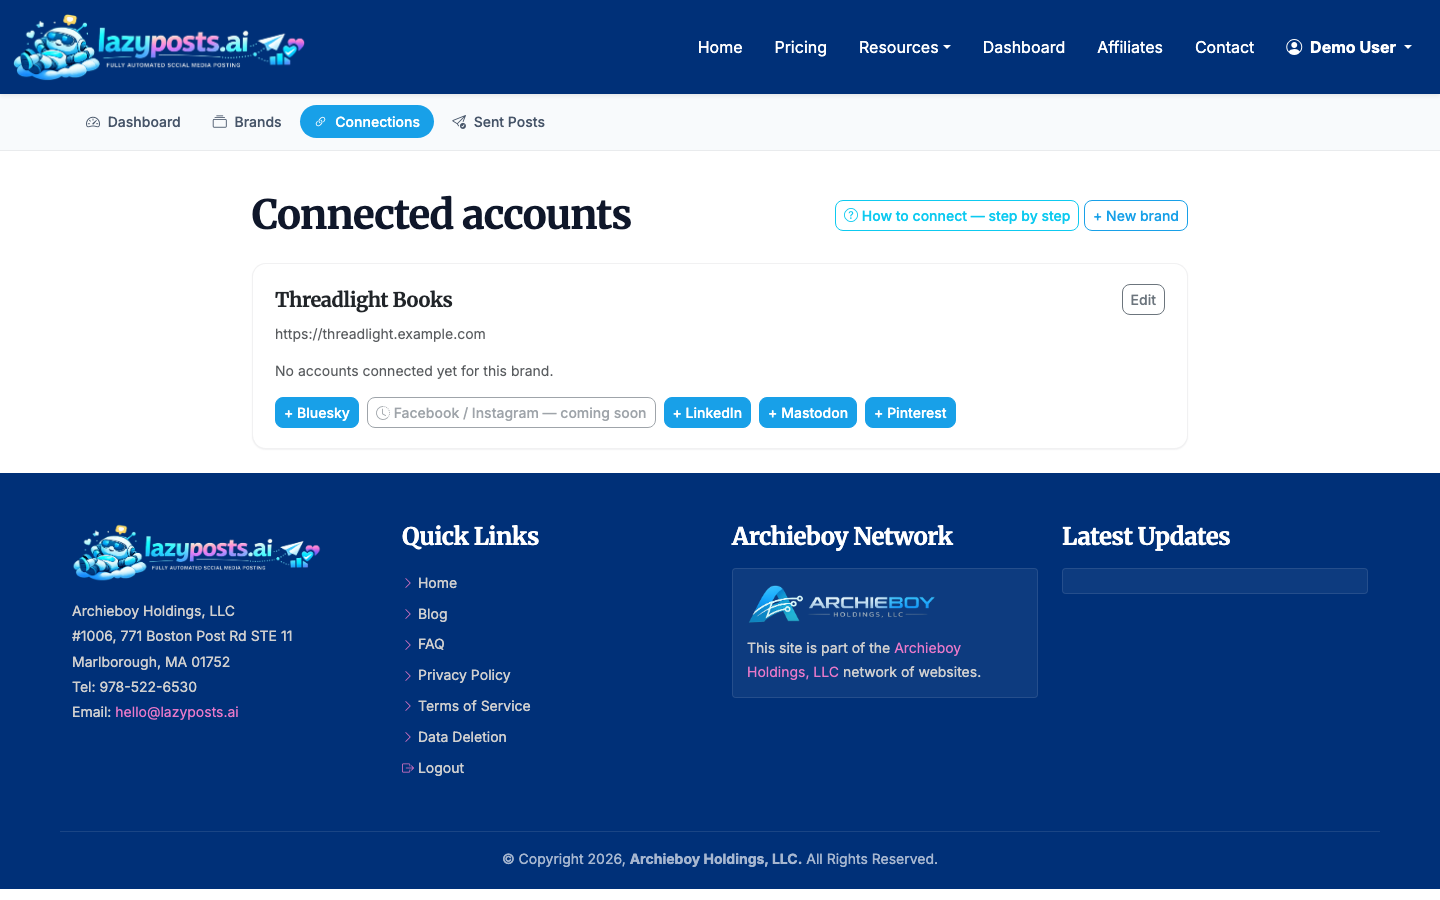
Make sure you grant the permissions needed for the account you want to publish to. If you manage multiple businesses, double-check that the right Instagram profile is selected.
2. Set up your brand profile
Your brand profile tells LazyPosts what to sound like, who you serve, which topics to cover, and what to avoid. Add your website URL so the system can extract useful context instead of relying on generic prompts.
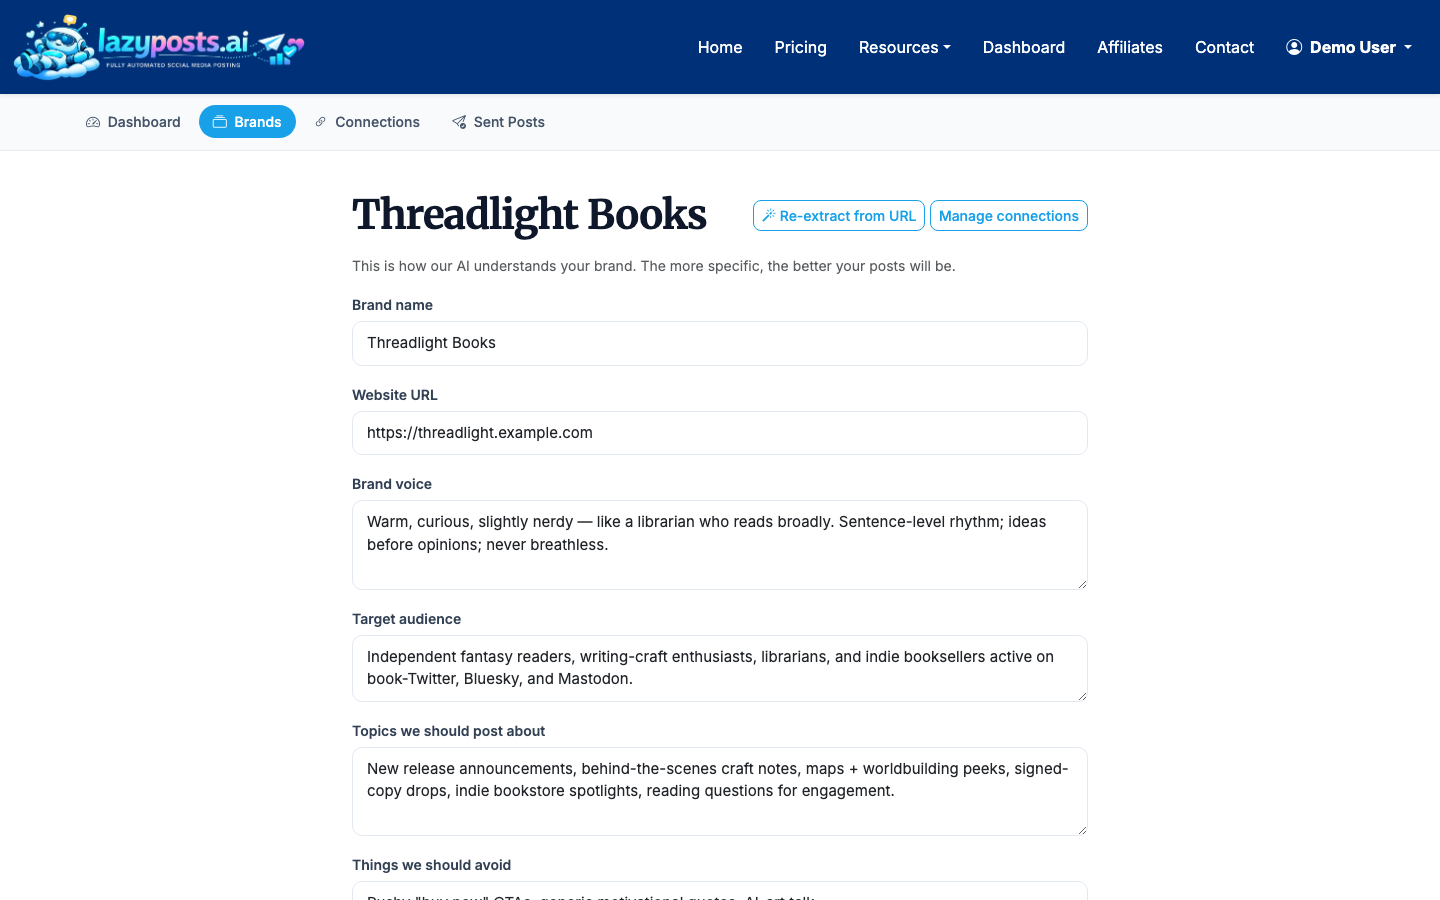
Be specific. “Helpful, direct, lightly witty” is more useful than “professional.” Add three to seven topic areas, such as product tips, customer pain points, founder lessons, behind-the-scenes updates, or seasonal promotions.
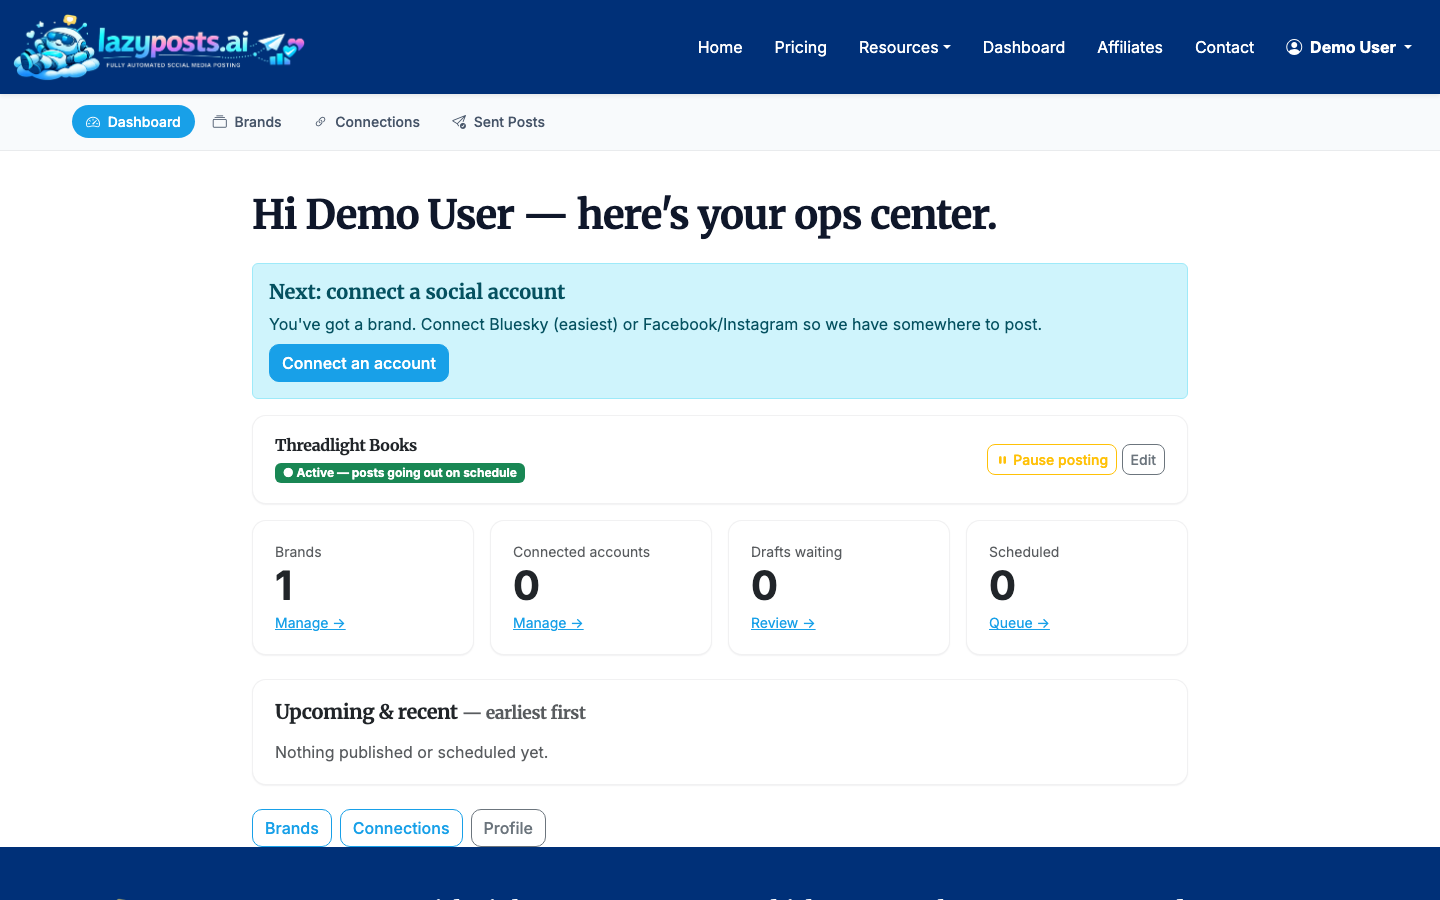
3. Review your generated drafts
Once your brand and connection are ready, review the drafts queue. Each item can be edited, approved, regenerated, or published depending on your workflow.
For Instagram content, pay close attention to the opening line, image or media fit, hashtags, and whether the post should be adapted into a Reel concept. A strong Reel often starts from the same idea as a feed post but needs a more visual hook.
4. Approve, edit, or regenerate before publishing
If a draft is close, make a quick edit and approve it. If the angle is wrong, regenerate it. If the topic is off-brand, update your brand profile so future drafts improve instead of fixing the same issue repeatedly.
This approval gate is useful if you want automation without giving up control. Solo founders often approve a week's worth of posts in one sitting, while small teams may review drafts by brand or campaign.
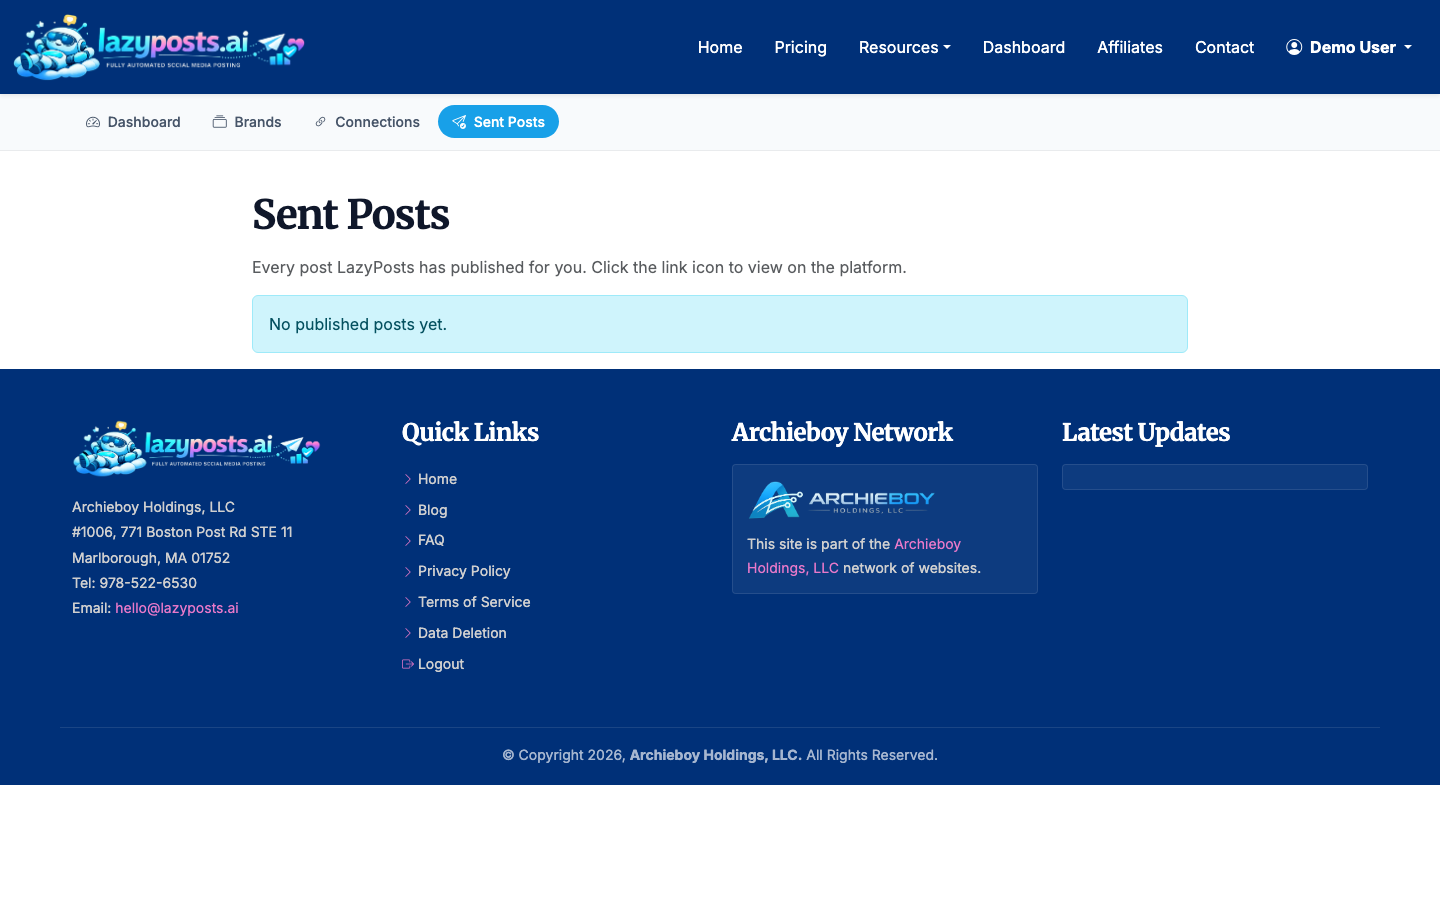
5. Check your sent archive
After posts publish, use the sent archive to confirm what went out and where. This helps avoid duplicate messaging and gives you a simple record across networks.
If Instagram is your main channel, review your archive weekly. Look for topics that were easy to approve, posts that needed heavy edits, and ideas that could become future Reels.
When to use each scheduling method
Use Instagram's native scheduler when you have a finished Reel and need exact Reel controls.
Use Meta Business Suite when your Instagram and Facebook workflow already lives inside Meta and you want platform-native coordination.
Use LazyPosts when the harder problem is not clicking “schedule,” but consistently knowing what to publish. It is designed for the recurring work around social media: brand voice, topic balance, draft generation, approvals, and multi-network publishing.
If you are also scheduling regular Instagram posts, read How to Schedule Instagram Posts for the broader workflow.